So here is how I did it, and what I would do different next time:

So I gathered my supplies: shirt, fabric, heat-n-bond, ric-rac


Then placed them on the shirt where I thought they would look nice.

And fused them in place, as well.

Then it was time to see how much and where I would need the ric-rac.

after laying out my ric-rac and figuring out the lengths I would need and where to place them. I used fray check on the edges of the ric-rac that would be seen.

I sewed the ric-rac first so I could tuck it under the edges of the circles. Next time I would sew the ric rac first and then add the circles afterward wherever it seemed to fit best.

This was the setting I used on my zig-zag stitch. I needed it to do a fairly wide stitch but close together to look more like a satin stitch. You could do your stitch length further apart if you want to, would just give it a different look.

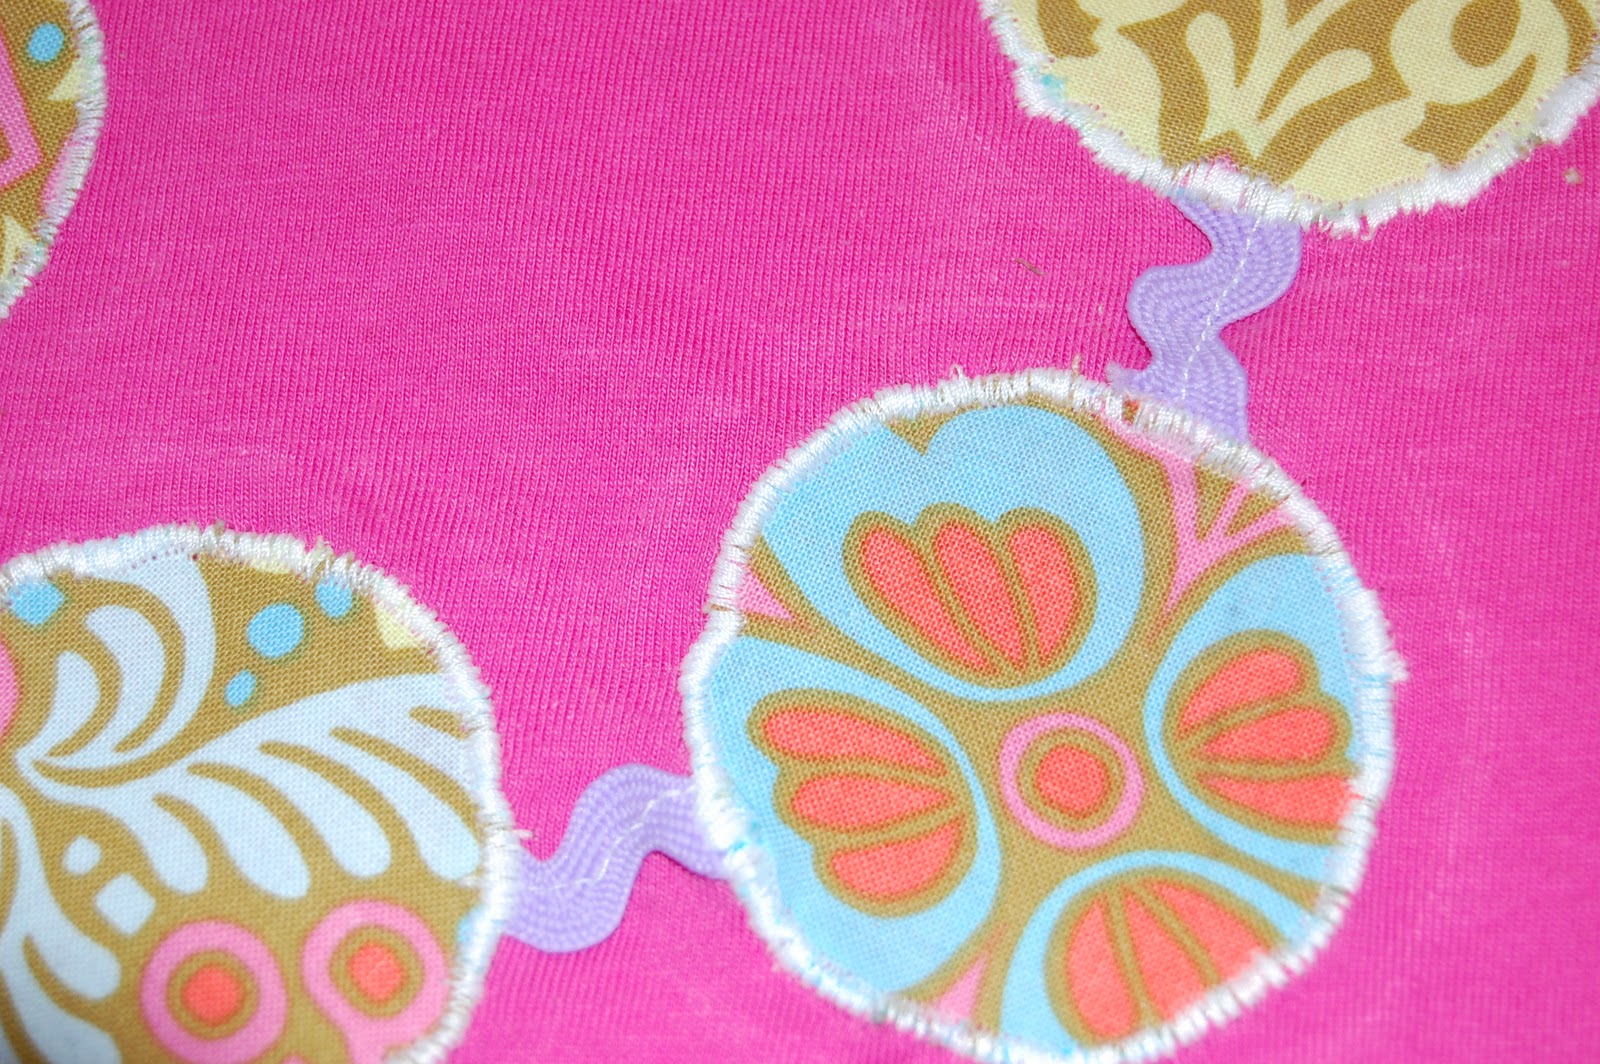
This is me SLOWLY making my way around the edges of the circle. You can see how it was necessary to do this if you can make out the fraying of the fabric at the edges.