This has been quite a process and I want to explain it well, but I Love seeing the blogs and pinterest ideas using new pendant lights. My husband is very proud of what we ended up doing and has been asking if I posted about this yet. So please make sure to comment on here if you like it or you will Crush him LOL. He is very proud of himself. ok- so we are clear- please comment on your thoughts to this lighting update.....mmmk. K.
I love the Mason jar ideas, but when I tried a Mason jar here it didn't fit the threading. So I just took down one of the white shades to try out a couple ideas and see what I liked.
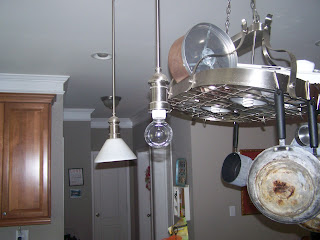
This is just putting in one of the round bulbs that go above our bathroom vanities. I like it ok.

It's not horrible, but I do like it better than the white shade.

It is less destracting than the white shade especially with our pot rack right behind it.
So I left it up for a while to see how I felt about it and til hubby got home to get his feedback. This confused the heck outta my kids. My 5 year old kept asking about it- she thinks I am a bit nuts sometimes.
Well hubby got home and had an idea. When I told him my dream look for this-

You see this little white ring. It's ceramic and it is the threading that holds the shade in place. Hubby said well let's take a mason jar lid- the flat part and trace the small part onto it and cut it out. We used regular kitchen shears

This is the flat lid of the mason jar- the part that usually seals, with the cut out area to fit around the white ceramic threading.

He just cut around it. Now watch out it is a bit prickly and can scratch or cut you.

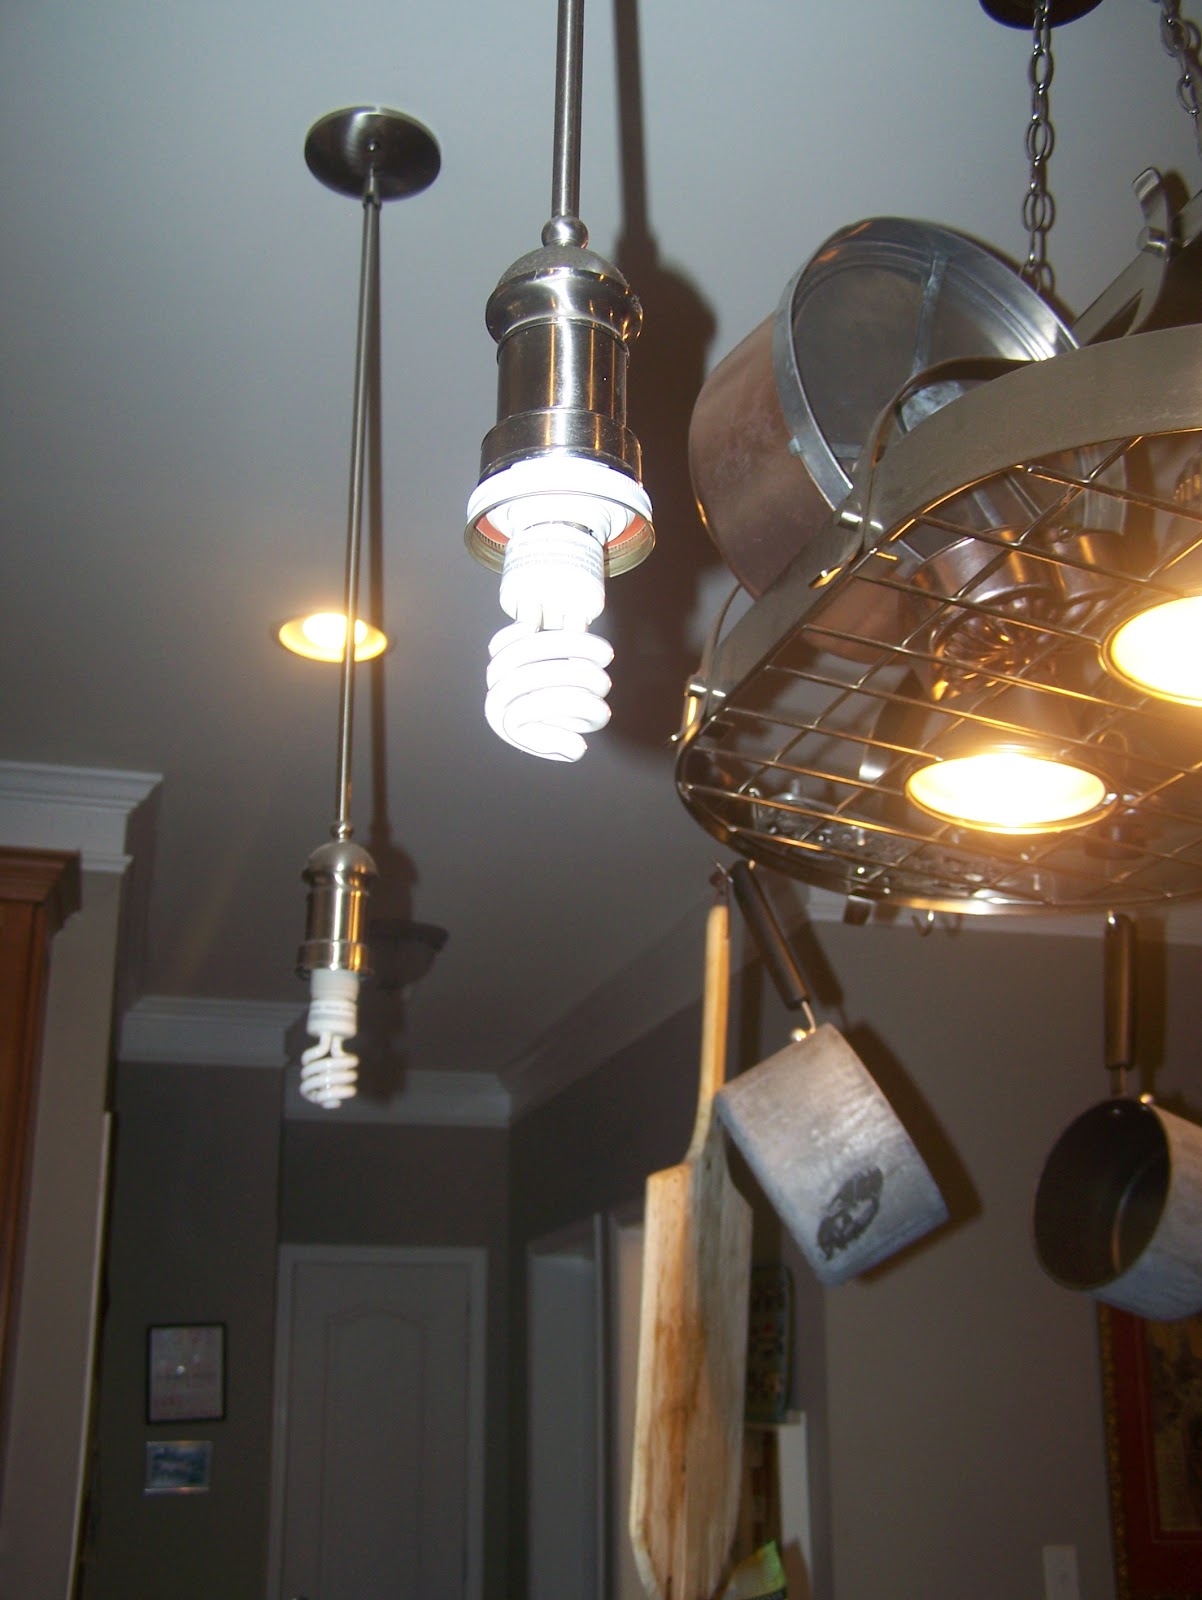
Then we put the ring around the flat lid held it up and screwed the ceramic ring in and it held.

This is a closer view of it in place. I tried to use an edison bulb but they were too wide to fit in the jars. But the basic CFL looks fine.

Then I used 2 blue Mason jars and screwed them onto the lid- Now doesn't that look pretty cool.
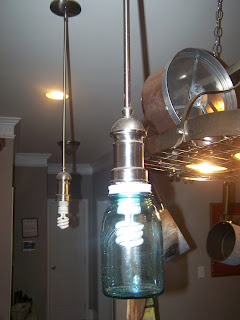
Close up of it at eye level- see how it looks good even with the CFL in it?

With the light on! I am in LOVE

In a dark house- doesn't it just glow! This makes me so happy. I leave these lights on at night and it casts such a nice cozy glow about it and reminds me of something from my child hood that I just can't place.

Then I noticed the white lid and said to hubby- I am going to spray it silver so it will blend better and he reminded me we had silver ones lol. Guess I just look for a reason to spray paint things.

So we switched it out for the silver one! Now it looks better and like it was meant to be there. It looks good with the living room mantel in the background.

See even with the pot rack behind it, it works better than the old lights. It is so sweet and fun. We have had these up for about a month and a half now and we still love them. What do you think? If you love it, please leave a comment, remember my hubby's fragile ego?!? ;-) I don't think I have written a blog post that he was this excited about, or excited about at all LOL. Makes me think of Mandy from Sugar Bee Crafts hubbys new blog at So I married a Craft Blogger.
I have read hubby several of his posts, and he cracks us both up. So be sure to check that out too.

I love the Mason jar ideas, but when I tried a Mason jar here it didn't fit the threading. So I just took down one of the white shades to try out a couple ideas and see what I liked.

This is just putting in one of the round bulbs that go above our bathroom vanities. I like it ok.

It's not horrible, but I do like it better than the white shade.

It is less destracting than the white shade especially with our pot rack right behind it.
So I left it up for a while to see how I felt about it and til hubby got home to get his feedback. This confused the heck outta my kids. My 5 year old kept asking about it- she thinks I am a bit nuts sometimes.
Well hubby got home and had an idea. When I told him my dream look for this-

You see this little white ring. It's ceramic and it is the threading that holds the shade in place. Hubby said well let's take a mason jar lid- the flat part and trace the small part onto it and cut it out. We used regular kitchen shears

This is the flat lid of the mason jar- the part that usually seals, with the cut out area to fit around the white ceramic threading.

He just cut around it. Now watch out it is a bit prickly and can scratch or cut you.
Then we put the ring around the flat lid held it up and screwed the ceramic ring in and it held.

This is a closer view of it in place. I tried to use an edison bulb but they were too wide to fit in the jars. But the basic CFL looks fine.

Then I used 2 blue Mason jars and screwed them onto the lid- Now doesn't that look pretty cool.

Close up of it at eye level- see how it looks good even with the CFL in it?

With the light on! I am in LOVE

In a dark house- doesn't it just glow! This makes me so happy. I leave these lights on at night and it casts such a nice cozy glow about it and reminds me of something from my child hood that I just can't place.

Then I noticed the white lid and said to hubby- I am going to spray it silver so it will blend better and he reminded me we had silver ones lol. Guess I just look for a reason to spray paint things.

So we switched it out for the silver one! Now it looks better and like it was meant to be there. It looks good with the living room mantel in the background.

See even with the pot rack behind it, it works better than the old lights. It is so sweet and fun. We have had these up for about a month and a half now and we still love them. What do you think? If you love it, please leave a comment, remember my hubby's fragile ego?!? ;-) I don't think I have written a blog post that he was this excited about, or excited about at all LOL. Makes me think of Mandy from Sugar Bee Crafts hubbys new blog at So I married a Craft Blogger.
I have read hubby several of his posts, and he cracks us both up. So be sure to check that out too.